First step to succeeding in creating a gif is to open Adobe Photoshop. After opening it, in the left corner of the computer is ”File”. Press on the ”Open…” where your files will appear and you have to choose you image saved from Google images. Make sure you duplicate the background layer so it forms the ”Background copy”.
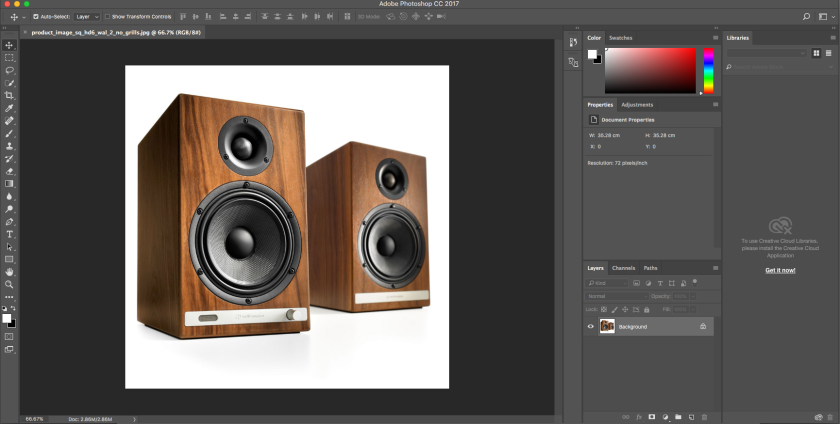
The next step is to press and hold on the little rectangular (Rectangular Marquee Tool) and there will be options. The right option is the Elliptical Marquee Tool. After getting this, circle the part you want to move, blur it and create a new layer.

After creating the layers, open up the Timeline Panel, choose the option ”Create Frame Animation” and press it. Then, on the timeline add the ”Background copy” and ”Background” layers. Put them in order so they are: Background (1), Background Copy (2) and Background again (3).
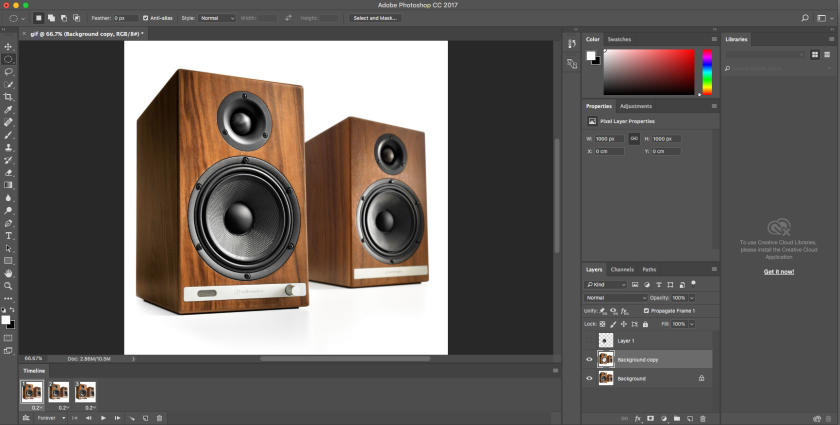
After getting the layers in order, make them go 0.2 seconds each and down the layers make sure they go ”Forever”, or how many times you want the gif to go on.
The last step is to save it. Go to File, press ”Save As…” and save it where you want.
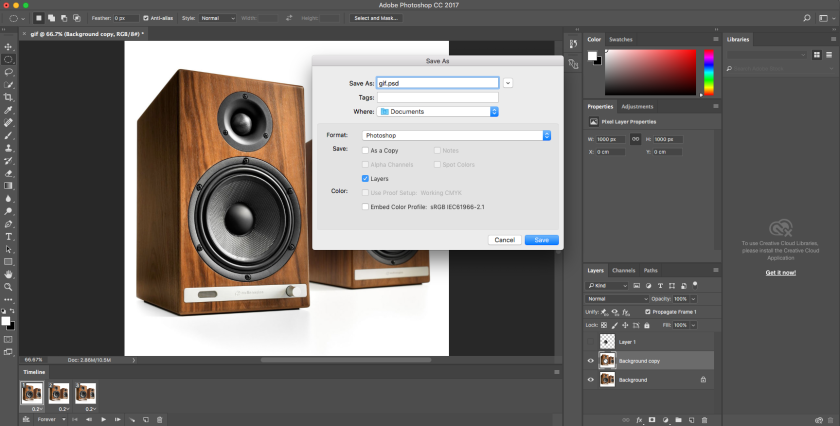
After saving there is one last thing you have to do: ENJOY

